Paver Medallion Installation
IMPORTANT! READ THIS BEFORE INSTALLING YOUR USA INLAYS PAVER KIT
KEEP YOUR USA INLAYS KIT PALLETIZED AND FULLY ASSEMBLED UNTIL YOU ARE READY FOR INSTALLATION.
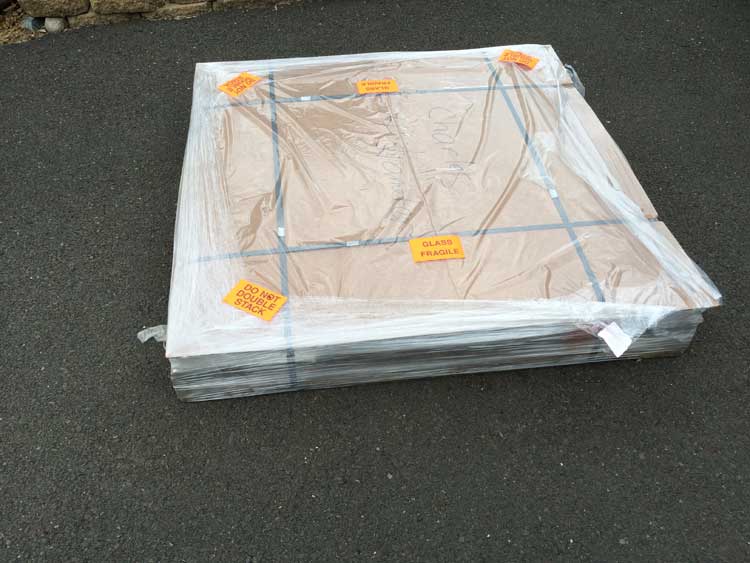
Palletized paver medallion 4 feet, fully assembled
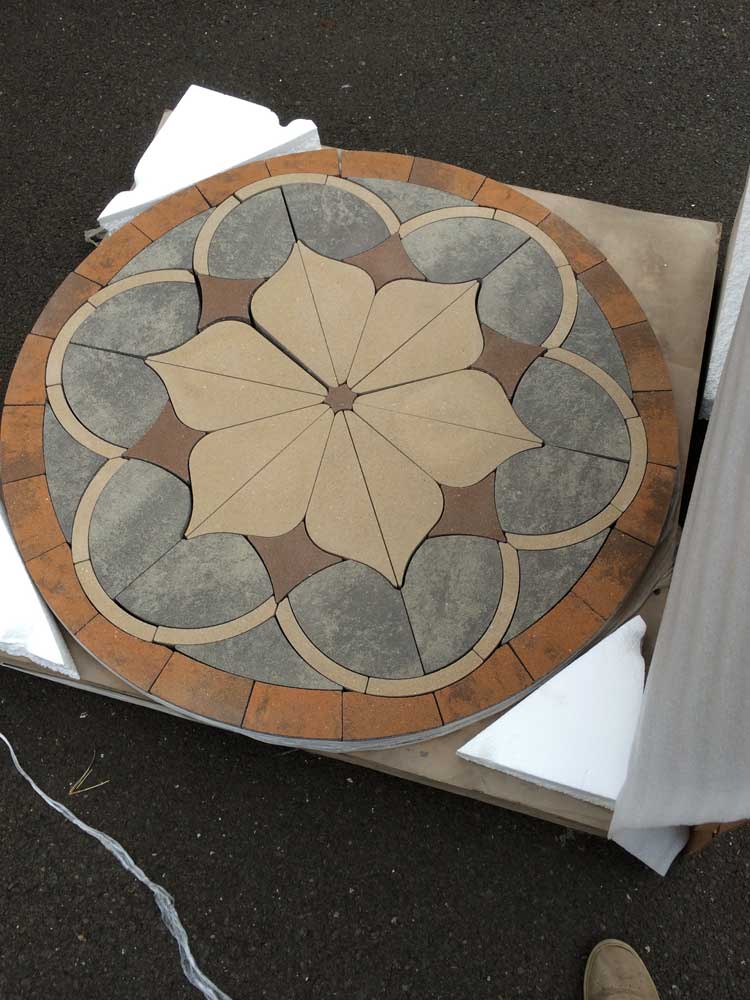
Assembled medallion kit after unpacking the pallet. Inspect all the pieces prior to installation. Charles-Pavers model shown.
USA INLAYS RECOMMENDS THAT YOU HIRE AN ICPI CERTIFIED HARDSCAPER TO INSTALL YOUR PAVER PROJECT. HOWEVER, WITH THE PROPER MATERIALS, TOOLS AND INSTRUCTIONS, THE EXPERIENCED “DO-IT-YOURSELFER” CAN COMPLETE A SUCCESSFUL PAVER INSTALLATION.
- Excavate and prepare the base and bedding sand in accordance with ICPI guidelines. THIS IS THE MOST IMPORTANT PART OF THE INSTALLATION PROCESS! It is important that the base elevation is level and compacted to reach the maximum proctor density and that the screeded bedding sand is a uniform thickness.
- Lay your entire project field of pavers.
- After the entire project field is installed, compact the pavers using a plate compactor including the area where your USA INLAYS kit will be placed. DO NOT SPREAD JOINT SAND ON THE FIELD - THIS STEP WILL BE PERFORMED AFTER YOUR USA INLAYS KIT IS INSTALLED!
- Determine where your USA INLAYS kit will be installed in your paver field. We recommend that you cut a cardboard template of the dimensions of the kit and use this as a visual guide to help determine the best placement in the field. Make sure you leave enough space for kit pieces. They need to have a gap for sand.
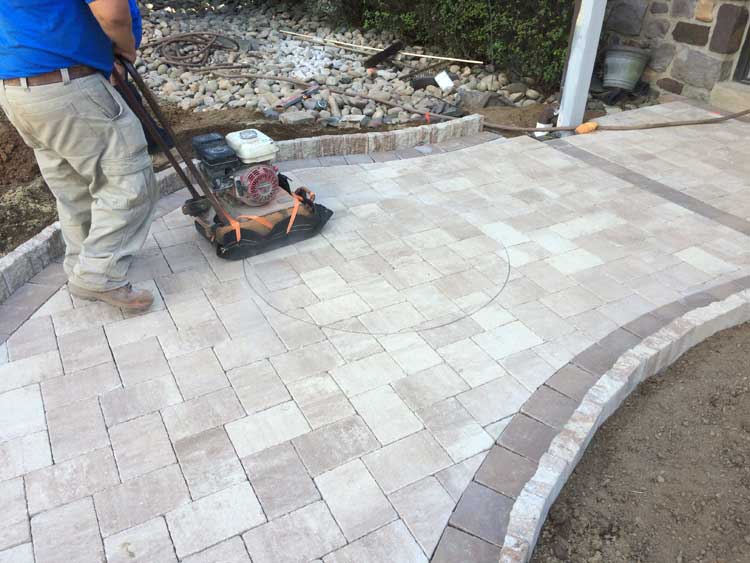
Pavers are compacted one more time in the marked medallion location. Make sure the pavers are leveled and sand base fully prepared and compacted.
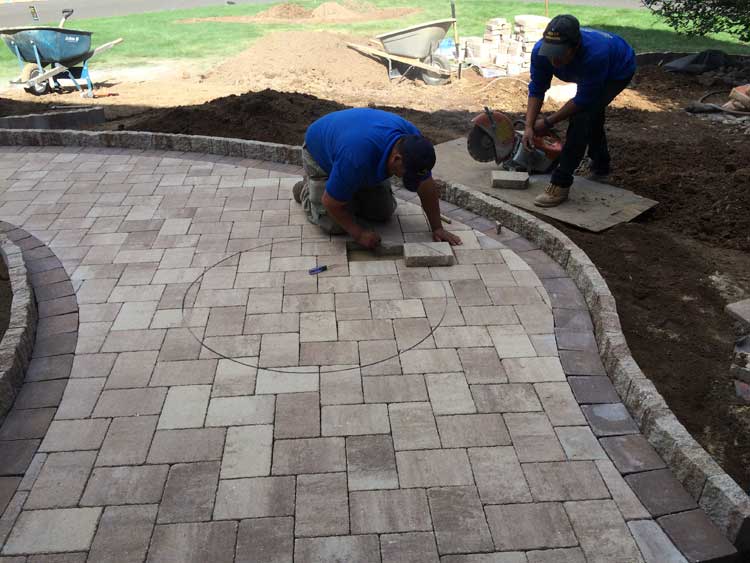
Pavers individually removed and cut to shape using marked lines
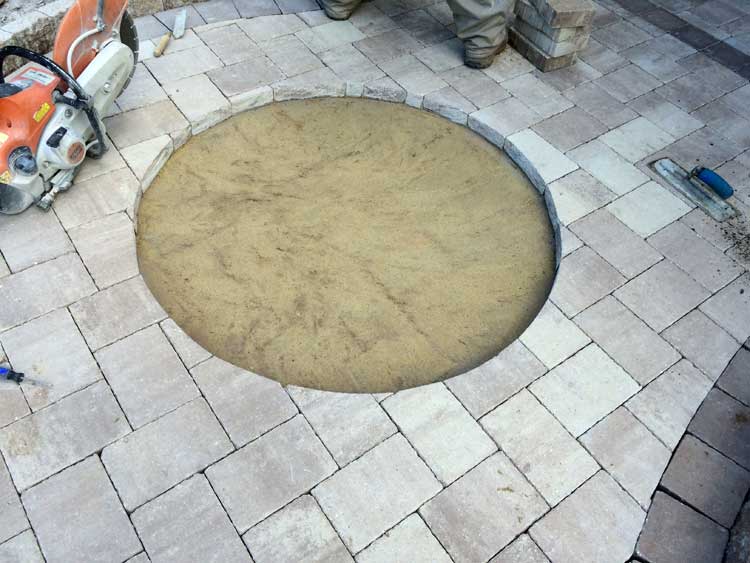
- You should know the size of the kit to be installed. Once you determined where you want to install the kit, remove enough pavers from the field in order to accommodate the installation of your design. For example, you might want to remove a 4 feet x 4 feet section of field material in order to have enough space to lay the pavers for a 36 inch diameter design.
- Proceed to install your design. If your design is larger than 48 inches, it will have been packaged on layers of the pallet in a logical fashion for the purposes of a logical installation. If your design is 48 inches or less, the design will be fully assembled on the pallet. Begin by installing the design, piece-by-piece into the area designated for your installation. LEAVE AT LEAST A 1/16 INCH SEPARATION BETWEEN THE PAVERS. Once your design has been properly laid out, you can then proceed to re-install the field pavers to the edge of your design and cut the field pavers to fit against the edge of your design. USA INLAYS recommends using a diamond blade cut saw. NOTE: DO NOT PLATE TAMPER YOUR USA INLAYS KIT! You run the risk of damaging the pieces contained in your design. Lightly tap the pieces that not level with a rubber mallet and push them into place with your hands/fingers.
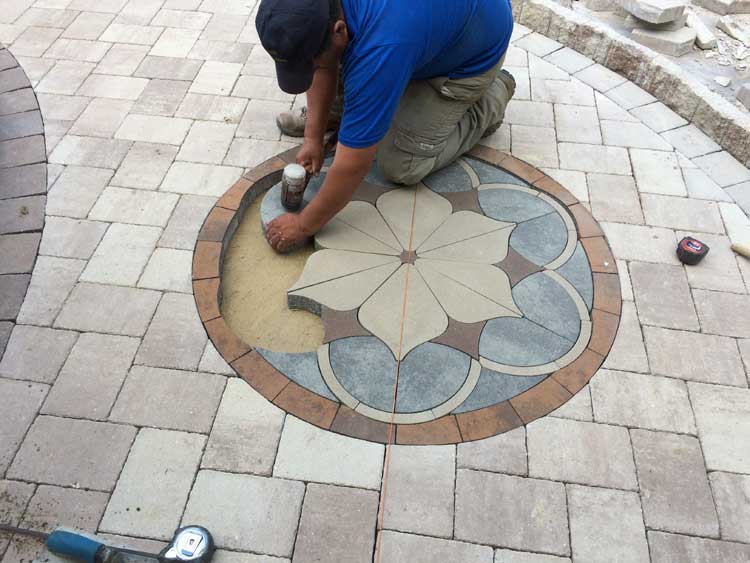
- Spread joint sand on your field including your USA INLAYS kit. USA INLAYS recommends that you use Polymeric Joint Sand or Polysand which is activated by water. Polymeric Joint Sand or Polysand will reduce sand loss due to wind, traffic, moisture and thermal movement. Perform repeated brush-overs with joint sand until joints are filled to the top. Read the instructions on the bag carefully to insure that you are installing the joint sand properly and pay close attention to the cleaning procedures required. DO NOT USE A PLATE TAMPER OR COMPACTOR ON YOUR USA INLAYS KIT IT WILL LEAD TO BREAKAGE OF THE ARTWORK IMAGE!
-
CARE AND MAINTENANCE
Your USA INLAYS kit design is made of durable concrete pavers that have been colored using a pigmentation process. With the proper care, your USA INLAYS kit will last as long as your paver project.
EFFLORESCENCE
Efflorescence is the white residue that may be left on your pavers after water evaporates. It results from the reaction of calcium hydroxide with carbon dioxide from the air. It doesn't damage your pavers and it usually wears away with time. USA INLAYS recommends using Efflorescence Remover to remove efflorescence from the surface of your concrete pavers.
SNOW AND ICE REMOVAL
For snow and ice removal, USA INLAYS recommends plowing or shoveling with a rubber edge. DO NOT USE SHARP OBJECTS TO CHOP ICE OR SNOW! Sodium chloride (rock salt) and calcium chloride will harm your USA INLAYS design. For safe and effective de-icing of your USA INLAYS kit, we recommend that you use an ice melting product which is 100% salt-free.
SEALERS
To protect your kit from dirt and stains and intensify the paver colors, a sealer may be applied to your kit artwork image. HOWEVER, YOU MUST WAIT AN APPROPRIATE LENGTH OF TIME UNTIL EFFLORESCENCE HAS APPEARED SO THAT IT CAN BE REMOVED EFFECTIVELY! IF YOUR KIT IS SEALED TOO QUICKLY, THE SEALER WILL LOCK IN THE WHITE DISCOLORATION DUE TO EFFLORESCENCE AND YOUR KIT WILL BE DAMAGED!
 USA Inlays